
Extending Axure's Interaction Design with CSS3

I don’t know a gentle way to say this, so I’ll be blunt. Axure leaves a lot to be desired in animation and interaction design. A few other designers and myself were discussing prototyping interactions and animations on The User Experience Design Slack, where I described Axure’s animation options as “YAY IT FADED” and “YAY IT ZOOMED AWAY”
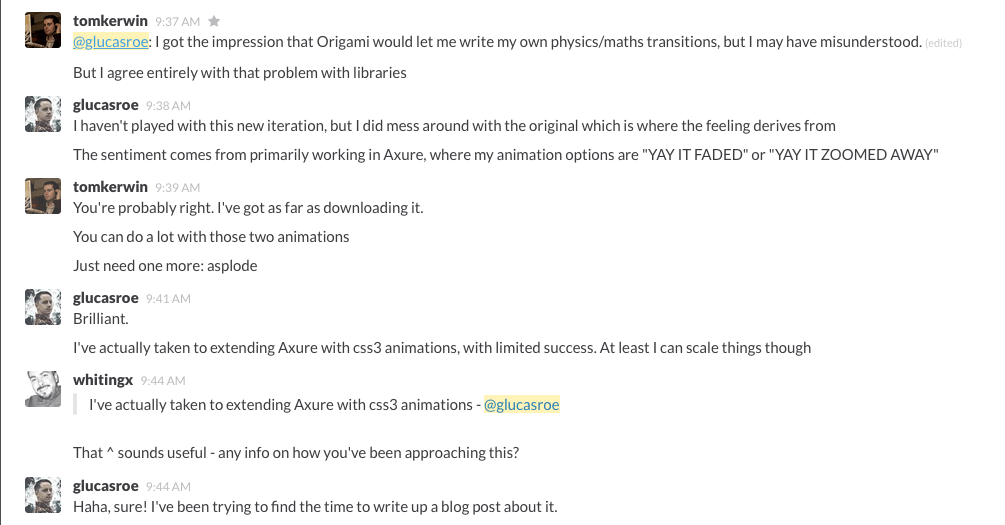
(Shoutout to Tom Kerwin and Rob Whiting)
Here’s an example of something I built with this technique, looking for a way to visually filter notes that I had been taking about a UX project:
Extending Axure with CSS:
First of all, yes this is a hack, yes it is silly, and yes, you probably just want to be doing things with HTML. Let’s start with a few givens:
Axure Turns (almost) Everything Into an Image: Any shape with a color, any borders, literally anything except for text is turned into an image and served. This is why you get weird caching issues sometimes, and will tweak how we have to think about our CSS.
It Isn’t very Efficient: Because you’re going to be styling things entirely outside of Axure, you have to hold information in your head and be willing to publish and test frequently.
The Basics:
First, we need an ability to target the elements we would like to do something with. We accomplish this with the Widget Style Editor.
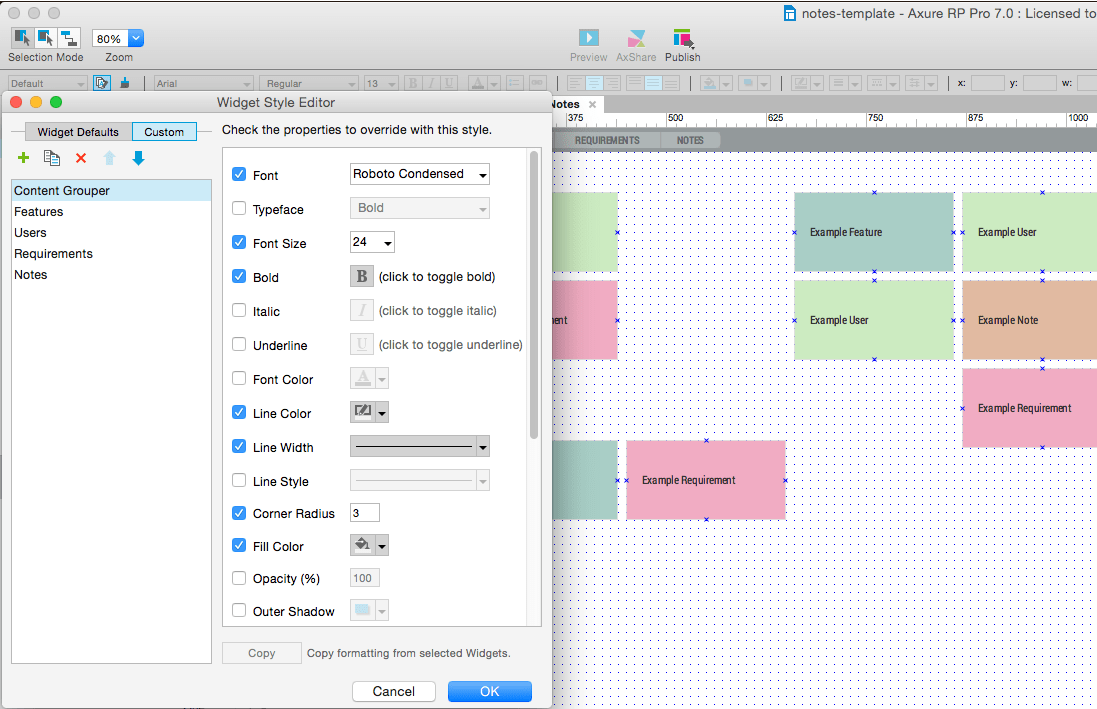
When you apply a custom style to an element, it does so using a CSS class with the name of the style. In this case, my css classes would be “features”, “users”, “requirements”, and “notes”.
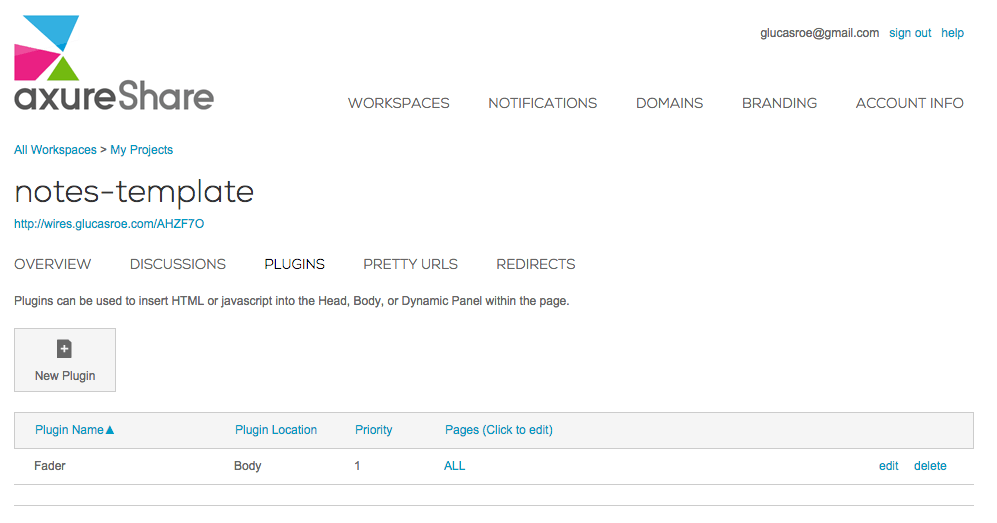
Second, you need a way to push your CSS (and in my case, Javascript) into the prototype. This is easily accomplished with Axure Share Plugins.
When you insert your plugin, you’ll have a version of jQuery that’s loaded by Axure which as of this post, is 1.7.1. You’ll see in the code below that I target interface pieces with jQuery by using the data-label selector, which is applied by Naming the element in Axure in your Widget Interactions and Notes.
Example Plugin Code:
Here’s the plugin that I used for my filter example. It is inserted at the end of the body on all the pages, as you can see on the screenshot above. This is recommended because Axure has enough to do in building a page without it having to check your JS first. Note: I use Chrome and am not going to prefix for other browsers.
<style type="text/css">
  .ax_flow_shape{transition: all 0.5s;}
  .fader {opacity: 0.35; transform: scale(0.95,0.95);}
</style>
<script type="text/javascript">
  var allRadio = $("div[data-label='all-btn']");
  var featuresRadio = $("div[data-label='features-btn']");
  var usersRadio = $("div[data-label='users-btn']");
  var requirementsRadio = $("div[data-label='requirements-btn']");
  var notesRadio = $("div[data-label='notes-btn']");

  var fragments = $('.features,.users,.requirements,.notes');

  var featuresTile = $('.features');
  var usersTile = $('.users');
  var requirementsTile = $('.requirements');
  var notesTile = $('.notes');

  var faded = $('.fader');

  $(allRadio).click(function(){
    $('.fader').removeClass('fader');
  });

  $(featuresRadio).click(function(){
    $(featuresTile).removeClass('fader');
    $(fragments).not(featuresTile).addClass('fader');
  });

  $(usersRadio).click(function(){
    $(usersTile).removeClass('fader');
    $(fragments).not(usersTile).addClass('fader');
  });

  $(requirementsRadio).click(function(){
    $(requirementsTile).removeClass('fader');
    $(fragments).not(requirementsTile).addClass('fader');
  });

  $(notesRadio).click(function(){
    $(notesTile).removeClass('fader');
    $(fragments).not(notesTile).addClass('fader');
  });
</script>
Another Example:
Just to show something else, especially how this can be used in a bigger project, I figured I’d try something that would be a bit more extensible, like a button mouseover class. I’m not as original as some of the amazing people over at the codrops blog, so let’s just fragrantly copy and past the Wayra style from this page onto our button.
Outside of all of our styling code, the only extra that I needed to add was .wayra img{display:none;} which hides Axure’s background for it (This also works for hover states, as the Axure mouseover just swaps out the image). Here’s the magical result.
Recap:
- Give CSS classes to elements using the widget style editor.
- Give data labels (for JS targetting) with widget names.
- Write CSS and jQuery (or JS) on Axure Share in plugins.
- Hide images inside of styled elements in order to not conflict with applied backgrounds and borders.